Night Photography in Scottsdale: Tips from the Experts
Understanding Night Photography Basics
Night photography captures the beauty of scenes after sunset, showcasing a different perspective. To get started, it's essential to understand how low light affects exposure settings. The key elements include aperture, shutter speed, and ISO, which together help you create stunning images even in the dark.
Photography is the story I fail to put into words.
Aperture controls the amount of light entering your camera, while a wider aperture (lower f-number) is beneficial for night shots. Shutter speed, on the other hand, determines how long your camera's sensor is exposed to light; slower speeds can create beautiful trails of light, but may require a tripod to avoid blurriness. Finally, ISO amplifies the sensor's sensitivity to light, but be cautious as higher values can introduce noise into your images.
By mastering these basics, you'll be setting the stage for capturing breathtaking night scenes in Scottsdale, from the shimmering city skyline to the starry desert sky.
Choosing the Right Gear for Night Photography
Selecting the right equipment is crucial for success in night photography. A good DSLR or mirrorless camera is ideal, as they allow for manual settings that grant you control over exposure. Pairing your camera with a sturdy tripod can help prevent camera shake during long exposures, ensuring sharp images.

Additionally, a wide-angle lens is often recommended for capturing expansive night scenes, especially if you're aiming to include the Milky Way or cityscapes. If you're looking to add a bit of creative flair, consider using a lens with a wide aperture to achieve that dreamy bokeh effect for foreground subjects.
Master Camera Settings for Night Shots
Understanding aperture, shutter speed, and ISO is crucial for capturing stunning images in low light.
Lastly, don’t forget about extra batteries and memory cards; night shoots can be time-consuming, and you wouldn’t want to miss that perfect shot due to a dead battery!
Finding the Best Locations in Scottsdale
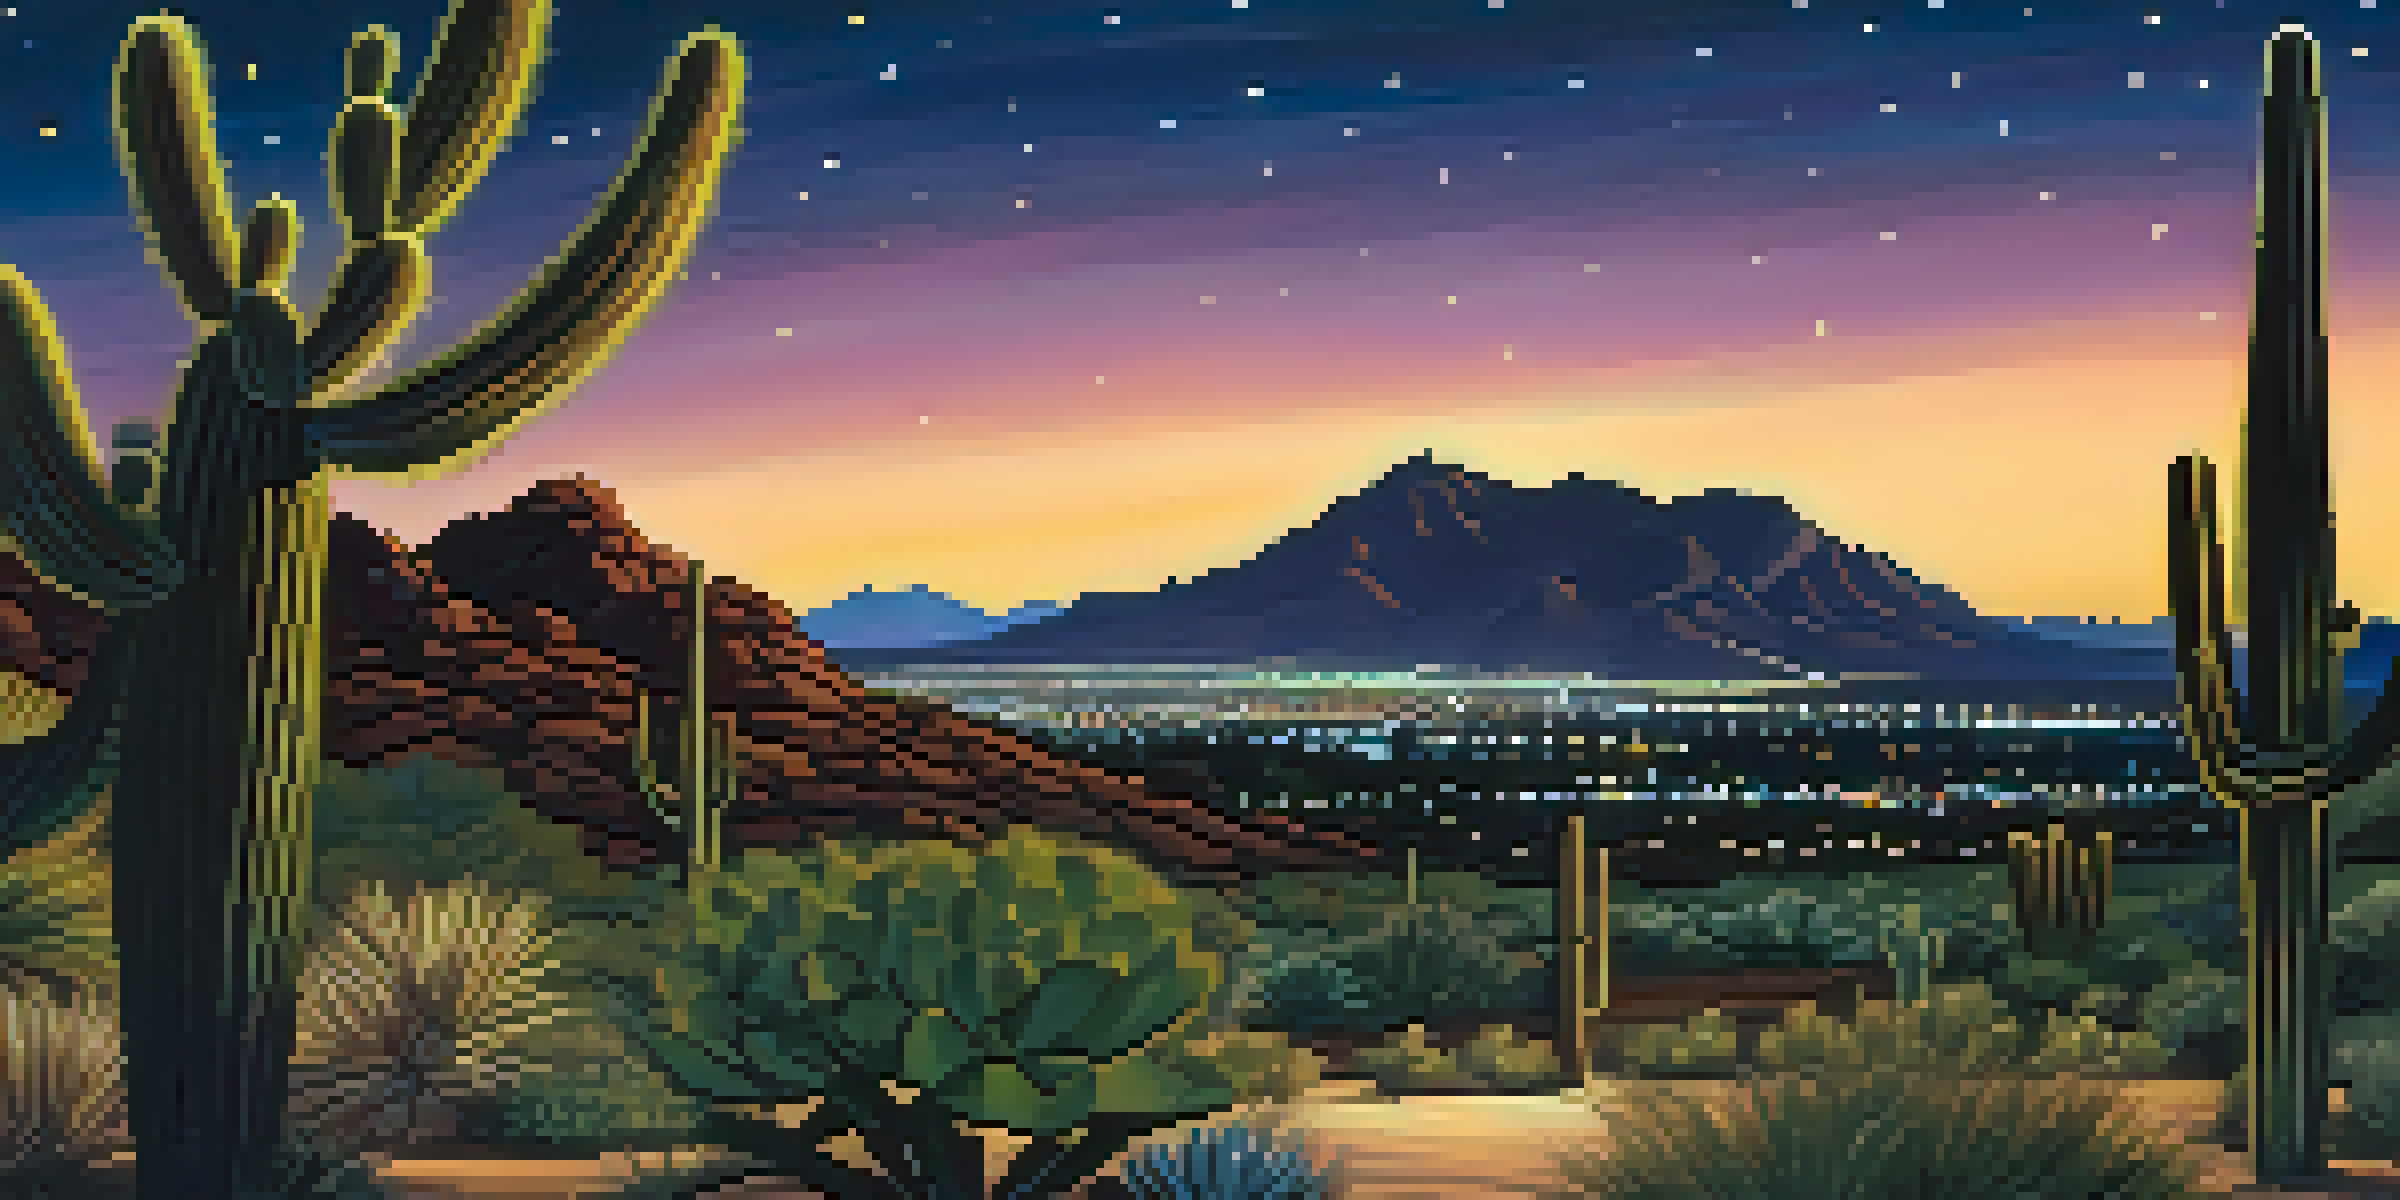
Scottsdale offers a wealth of picturesque locations for night photography enthusiasts. Key spots include the iconic Camelback Mountain, where you can capture the city lights below, or the serene Desert Botanical Garden, where the desert flora takes on a magical quality under the stars. Each location provides a unique backdrop for your night shoots.
The best camera is the one you have with you.
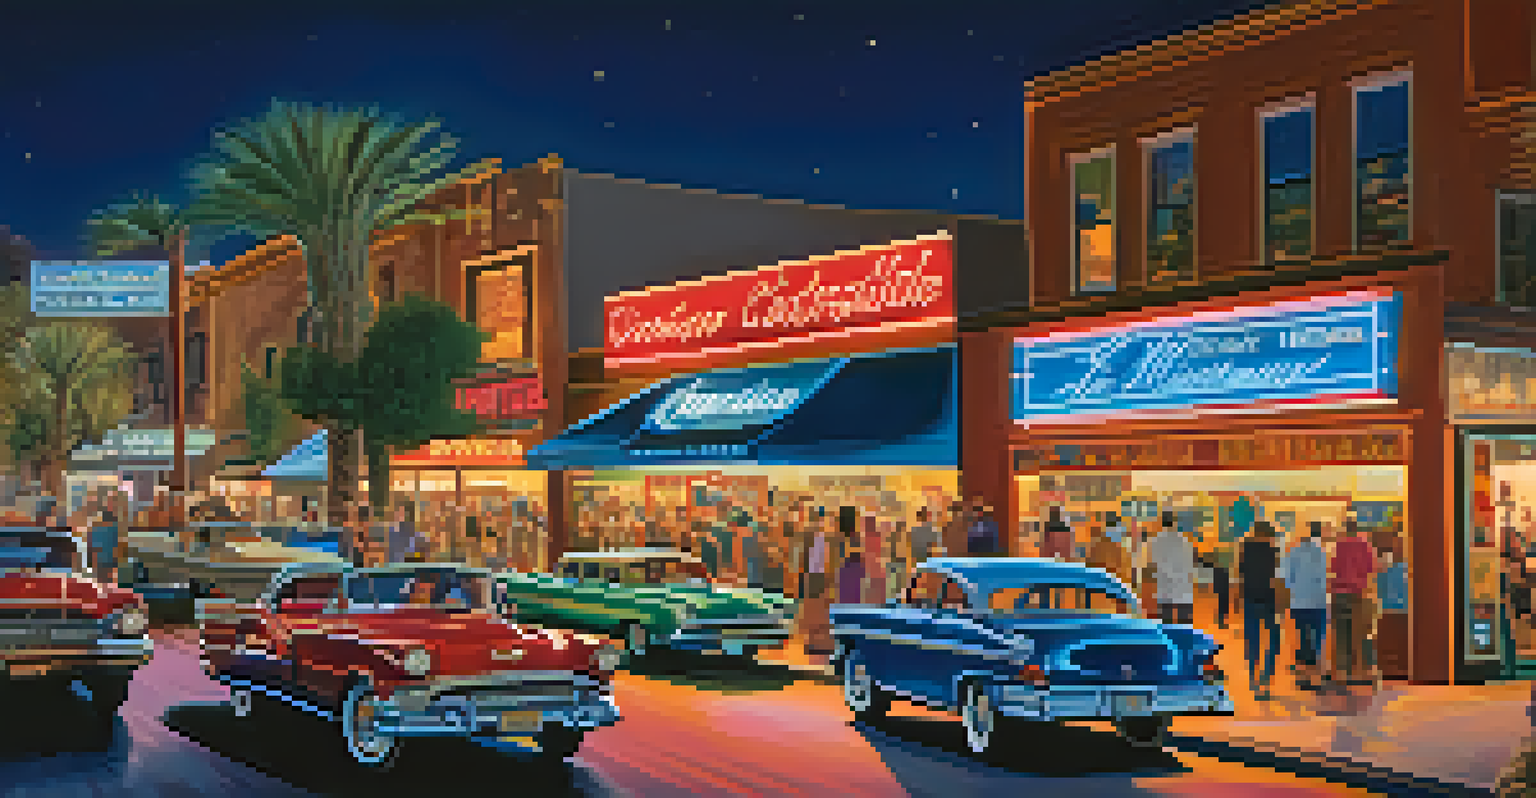
Another favorite among photographers is the Scottsdale Waterfront, where the reflections of lights on the water create stunning compositions. Don't overlook the historic Old Town Scottsdale, known for its vibrant nightlife and colorful storefronts that come alive under nighttime illumination.
Exploring these locations not only enhances your portfolio but also allows you to connect with the local culture and natural beauty of Scottsdale.
Timing Your Shots: The Golden Hour and Blue Hour
Timing is everything in photography, and night photography is no exception. The golden hour, shortly after sunset, provides soft, warm light that can beautifully enhance your images. Following this, the blue hour, which occurs right before complete darkness, offers a rich blue hue that adds depth and drama to your photos.
During these times, the contrast between the fading daylight and artificial lights can create captivating compositions. It’s an excellent opportunity to capture the transition from day to night, showcasing both natural and urban elements in one frame.
Choose the Right Gear Wisely
Using a DSLR or mirrorless camera with a sturdy tripod and wide-angle lens can significantly enhance your night photography results.
By planning your shoots around these magical hours, you can elevate your night photography game significantly.
Mastering Long Exposure Techniques
Long exposure photography is a popular technique for capturing the essence of night scenes. By using a slower shutter speed, you can create stunning effects, such as the smooth flow of water or light trails from passing cars. However, mastering this technique requires practice and familiarity with your camera settings.
To achieve the best results, consider using a remote shutter release or a timer to minimize camera shake. Additionally, utilize the 'Bulb' mode on your camera, which allows you to keep the shutter open for extended periods, giving you complete control over the exposure time.
With practice, you’ll be able to create mesmerizing night images that leave viewers in awe.
Utilizing Artificial Light Sources Creatively
Incorporating artificial light sources can add a creative touch to your night photography. Street lamps, neon signs, and even flashlights can become integral parts of your composition, helping to illuminate your subject or create interesting shadows. Experimenting with different light sources can lead to unique and captivating results.
For instance, you can use a flashlight to paint light onto your subject during a long exposure, resulting in a striking contrast against the dark background. Alternatively, capturing the glow from buildings or surrounding lights can help create a sense of atmosphere in your images.
Timing is Key for Perfect Shots
Planning your shoots around the golden and blue hours can elevate your images by capturing the beautiful transition from day to night.
By thinking outside the box and using available light creatively, you can elevate your night photography to new heights.
Post-Processing Tips for Night Photos
Post-processing is an essential step in refining your night photography. Using editing software like Adobe Lightroom or Photoshop can help you enhance colors, adjust exposure, and reduce noise that often creeps into night images. It’s all about bringing your creative vision to life while maintaining the authenticity of the scene.
Start by adjusting the contrast and brightness to make your subjects pop against the dark background. You can also play with the white balance to ensure that the colors appear natural and vibrant. Finally, consider sharpening your images slightly to bring out details that may have been lost in low light.
Through thoughtful post-processing, you can transform good night photos into stunning visual stories that resonate with your audience.